Action Groups
|
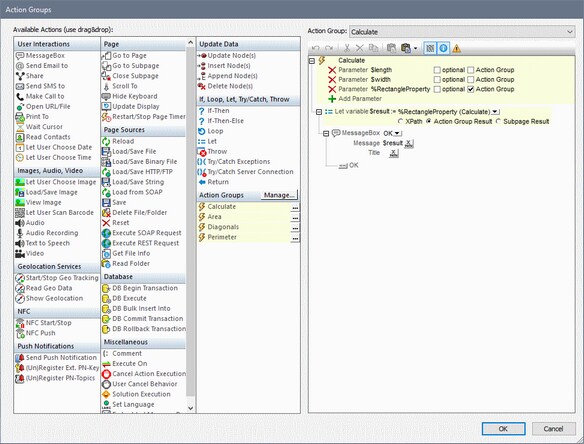
Displays the Action Groups dialog (screenshot below), in which action groups can be created and edited.
To create an Action Group, do the following:
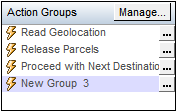
1.Click Manage in the Action Groups pane (see screenshot below).  2.In the Manage Group Actions dialog that appears, click Add in the toolbar of the dialog. An Action Group with a default name is added to the list of Action Groups in this dialog. 3.Double-click the name of Action Group to a suitable name to change it, and click OK. The Manage Action Groups dialog closes, and the new Action Group is added to the list of groups in the Action Groups pane (see screenshot above). 4.In the Action Groups pane (screenshot above), click the Edit icon of the Action Group you want to edit. The group's contents are displayed in the pane on the right (see screenshot below). The details of an Action Group can also be displayed by selecting the group in the Action Group combo box (see screenshot below).  5.To edit the contents of the active Action Group in the right-hand pane, drag and drop actions and and action groups from the Available Actions pane on the left. 6.Click OK to finish. The Action Group you have edited is available for use.
Note: The last selection in this dialog is remembered. As a result, the dialog is always reopened with the last selection highlighted.
Note: An action group can be edited at any time. Click its Edit button to display it in the right-hand editor pane; alternatively, select it in the combo box above the editor pane. |
|


