Creating a New XML Schema File
To create a new XML Schema file:
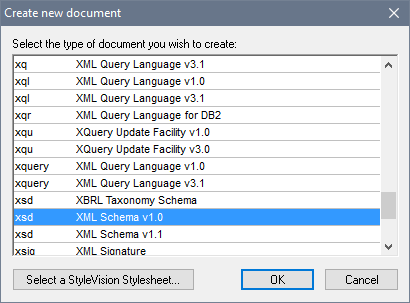
1.Select the menu option File | New. The Create new document dialog opens.

2.In the dialog, select the XSD (XML Schema v1.0) entry (the document description and the list in the window might vary from that in the screenshot) and confirm with OK. An empty schema file appears in the Main Window in Schema View.
3.In the Schema Design toolbar click the XSD 1.0 mode button (see screenshot below) so that Schema View is in XSD 1.0 editing mode.

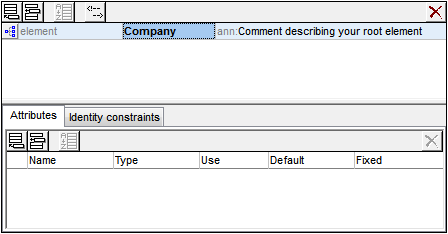
4.You are prompted to enter the name of the root element.

5.Double-click in the highlighted field and enter Company. Confirm with Enter. Company is now the root element of this schema and is created as a global element. The view you see in the Main Window (screenshot below) is called the Schema Overview. It provides an overview of the schema by displaying a list of all the global components in the top pane of the Main Window; the bottom pane displays the attributes and identity constraints of the selected global component. (You can view and edit the content model of individual global components by clicking the Display Diagram icon to the left of that global component.)

6.In the Annotations field (ann) of the Company element, enter the description of the element, in this case, Root element.
7.Click the menu option File | Save, and save your XML Schema with any name you like (AddressFirst.xsd, for example).
The colored-circle symbols in the file's tab indicate the file's backup status. See Automatic Backup of Files for a description of these indicators.