Creating a PortType
Creating a PortType involves the following:
•Naming the PortType
•Inserting an operation
•Adding input and output messages
•Adding parameters to messages
Naming the PortType
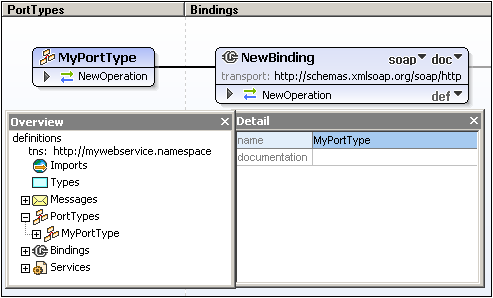
Rename NewPortType to MyPortType by double-clicking in the title bar of the NewPortType box in the design, then editing the name and pressing Return. Notice that the name of the PortType also changes in the Overview and Detail entry helper (screenshot below).

Inserting an operation
In the case of MyPortType, an operation, NewOperation, is already present, so we will work with this. Start by renaming NewOperation to, say, EchoString (double-click its name, edit, and press Return). (To insert additional operations for a PortType, right-click the PortType box, select Append Operation, and then click the required type of operation.)
Adding input and output messages
When an operation is appended to a PortType, you can select whether the operation should be one of five types:
•Request response
•Solicit response
•One-way
•Notification
•Empty operation
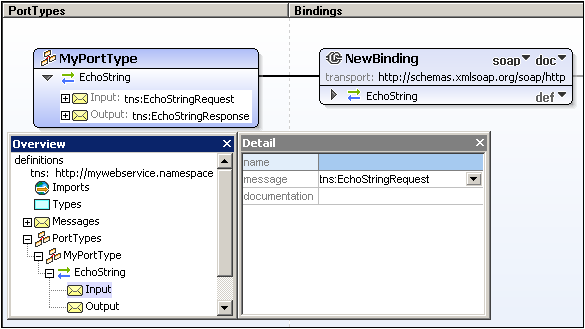
For each type, input and output messages are added automatically according to the operation type. When Empty operation is selected, right-clicking the operation allows you to select a message type to insert. A message can be deleted by right-clicking and selecting Delete input/output/fault element. In the case of the EchoString operation, rename the input and output messages to EchoStringRequest and EchoStringResponse, respectively.

Adding parameters to messages
Each input or output message is created with a single default message part (or parameter) of type xs:string (see screenshot below). To add another parameter, right-click either the message or one of its parameters and select Add message part (parameter).

To edit a parameter do one of the following: (i) double-click the text to edit it; or (ii) right-click the parameter and select Edit, or (iii) use the Detail entry helper (see screenshot above).