Applying Stereotypes
By applying a stereotype to an element, you indicate that the element has some specific use. In case of code languages supported in UModel (such as C#, VB.NET, Java), you typically apply stereotypes in order to comply with the grammar of that language. For example, a Java class may have the «static» stereotype applied to it.
Before you can apply stereotypes, the corresponding profile must be applied to your package(s) first. This is done automatically by UModel if you right-click a package and select the Code Engineering | Set as {language} namespace root command. For more information, see Applying UModel Profiles.
If you created custom profiles, these must be applied manually to the package, see Creating and Applying Custom Profiles. |
To apply a stereotype to an element:
1.Click the element in the Model Tree window. If the element can be extended by any stereotypes, they appear as properties in the Properties window, enclosed within guillemets ("«" and "»").
2.Select the stereotype's check box in the Properties window (for example, «static»).
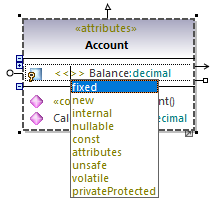
You can also apply stereotypes while designing elements inside a class diagram. To do this, click a property of a class and start typing text inside the "<< and ">>" characters.

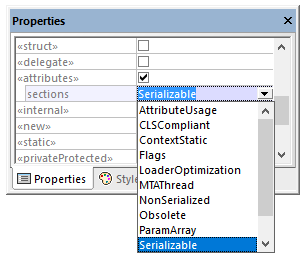
Some stereotypes are associated with a list of name-value pairs referred in UML as "tagged values". To apply a stereotype with tagged values to an element, select the stereotype's check box in the Properties window (in this example, «attributes»). This adds an indented entry where you can select the required value from a predefined list.

Tagged values
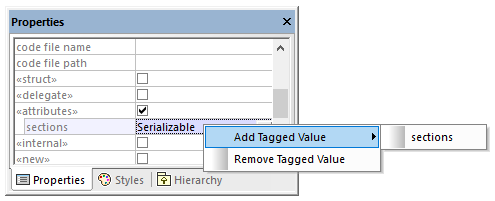
You can also add multiple values to the same key. To do this, right-click the idented entry, and select Add Tagged Value | <name> from the context menu.

Alternatively, you can add tagged values directly from the diagram, by right-clicking a value, and selecting New | Tagged Value from the context menu.
