Example: Creating and Applying Stereotypes
This example provides a step-by-step demo of the stereotype creation process. It shows you how to achieve the following goals:
•Create a stereotype
•Create stereotype attributes (properties) that become tagged values when applied to an element
•Define a stereotype attribute as an enumeration
•Set a default value for a stereotype attribute
•Apply the stereotype to elements in the model.
The example is accompanied by a sample project file called StereotypesDemo.ump, available at the following path: C:\Users\<username>\Documents\Altova\UModel2026\UModelExamples\Tutorial. If you follow the instructions below literally, you will create a similar project.
Create a new profile
As mentioned above, a stereotype must be owned by a profile; therefore, let's first create a profile.
1.Create a new UModel project.
2.Right-click the "Root" package and add a new profile by selecting New element | Profile from the context menu.
3.Rename the new profile to "DemoProfile".
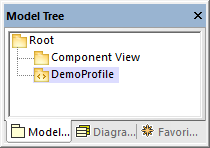
Create a stereotype
For the scope of this tutorial, you will create a stereotype with two attributes: "Usability" and "IsObsolete". The "IsObsolete" attribute will be defined as an enumeration. The enumeration will consist of two values, "Yes" and "No", where "No" is the default value.
1.Right-click the profile and select New element | Stereotype from the context menu. A new stereotype has been added to the profile.
2.Rename the new stereotype to "Info".
3.Right-click the stereotype and select New element | Property from the context menu. This adds a new property.
4.Rename the new property to "Usability".
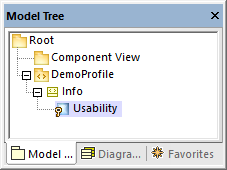
5.Repeat the steps above to create a new property called "IsObsolete".
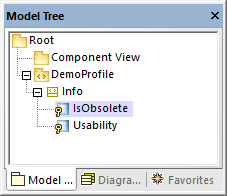
6.Right-click the "DemoProfile" and select New Element | Enumeration from the context menu. Rename the enumeration to "YesNoEnum".
7.Right-click the enumeration and select New Element | EnumerationLiteral from the context menu. Rename the enumeration literal to "Yes".
8.Repeat the step above and create an enumeration literal called "No".
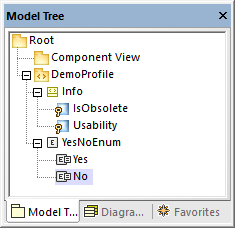
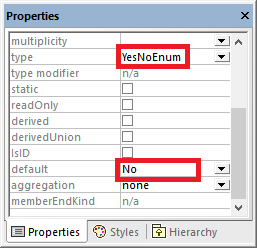
9.Click the "IsObsolete" property and change its type to YesNoEnum. Also, set the default property to "No"
Create a new package
In order to illustrate how the custom stereotype can be used, let's create a simple package containing only one class.
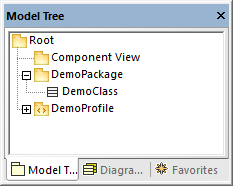
1.Right-click the "Root" package and add a new package by selecting New element | Package from the context menu.
2.Rename the new package to "DemoPackage".
3.Add a class to the package (in this example, "DemoClass".
Apply the profile to a package
As you recall from Step 1, the stereotype was created inside a profile. In this step, we apply the profile to a package, so that the stereotype becomes "visible" to the package.
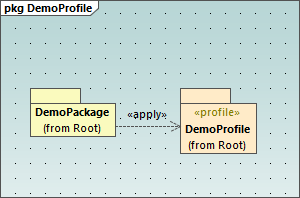
1.Right-click the "DemoProfile" in the Model Tree window and select New diagram | Profile diagram from the context menu.
2.Drag both the "DemoPackage" package and the "DemoProfile" profile from the Model Tree window into the diagram.
3.Click the ProfileApplication  toolbar button, and draw a ProfileApplication relationship from the package to the profile.
Apply the stereotype to classes
You can now apply the stereotype to a class.
1.Right-click the "DemoPackage" and select New diagram | Class diagram from the context menu.
2.Drag the class "DemoClass" onto the diagram.
3.Click the class and select the «Info» stereotype in the Properties window. Notice that the "IsObsolete" property is pre-filled with its default value.
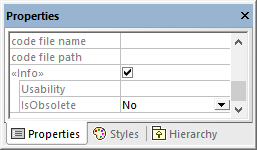
4.Enter a value for the "Usability" property ("75%", in this example).
The class on the diagram now has a "Tagged values" section which displays the stereotype attributes and their values. You can change these values either from the Properties window, or directly from the diagram.
