Example: Transform C# to Java
This example shows you how to perform a transformation from a C# model to a Java model. It also illustrates how to keep the source and the target models synchronized, manually or automatically.
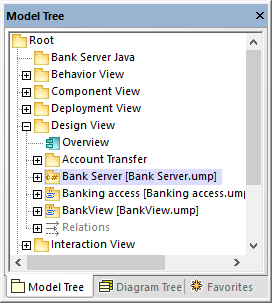
The UModel project used in this example is available at the following path: C:\Users\<username>\Documents\Altova\UModel2026\UModelExamples\Bank_multiLanguage.ump. If you open the "Design View" package, you will notice that the model contains two packages written in Java and one written in C#. The example assumes that the requirements have now changed and the third package must also be implemented in Java.
Let's first create the package which will store all the elements of the new target Java model.
1.Right-click the "Root" package, and select New element | Package from the context menu.
2.Name the new package "Bank Server Java".
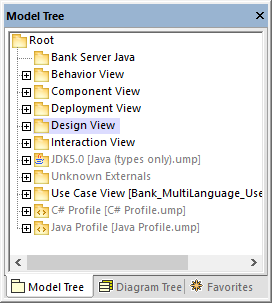
You can now run the transformation from C# to Java, as follows:
1.Right-click the source "Bank Server" package, and select Model Transformation from the context menu.
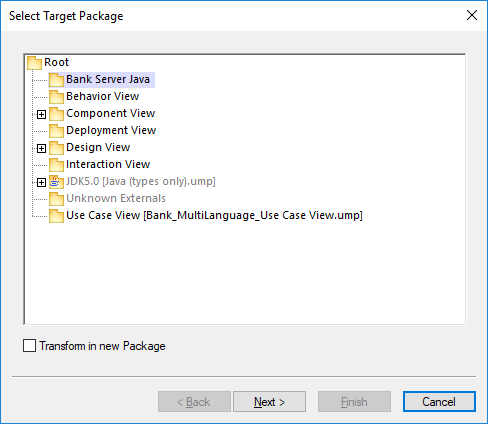
2.When prompted to select a target package, select the "Bank Server Java" package created previously, and click Next.
3.Select C# to Java as transformation type. For now, leave all the other settings as is.
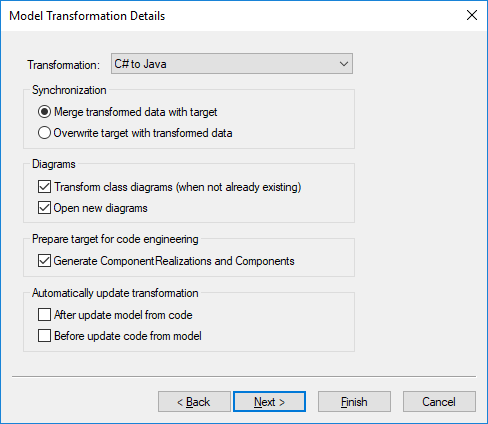
4.Click Finish. When prompted that the "UModel Model Transformation Profile" will be included, click OK to confirm.
The transformation completes, and the following changes take place in the project:
•A package diagram called "Model transformation from Bank Server to Bank Server Java" is generated in the target package and opened automatically. This diagram illustrates the transformation that just took place and also lets you modify the settings defined previously, as you will see below.
•The target "Bank Server Java" package includes all the elements transformed from the C# source model and tailored for Java. For example, if you open the "Bank Server" diagram, you will notice that it contains the boolean type as opposed to the bool type used in C#.
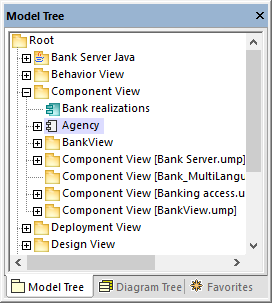
•The "Component View" package in the Model Tree window includes a new component, "Agency". This component was generated automatically because the setting Generate ComponentRealizations and Components was enabled, and the source BankServer package contains the Agency namespace. The new component defines the code engineering settings for the target model (in this case, Java).
Let's now configure the target Java model for code engineering.
1.Click the "Agency" component in the "Component View" package.
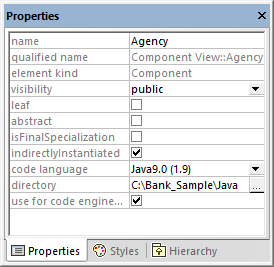
2.Find the directory property in the Properties window, and enter a directory where code should be generated (for example, C:\BankSample\Java, assuming that this directory exists).
Next, let's generate Java code from the target model:
1.Right-click the package "Bank Server Java" and select Code Engineering | Merge Program Code from UModel Package.
2.Click OK to confirm the default synchronization settings.
At this stage, your UModel project contains both the source Bank Server model in C# and the target model in Java (and both are configured to generate code). From now on, it is possible to keep both models in sync (manually or automatically) even if you continue to work in the source C# model. To illustrate this, open the "Bank Server" diagram located in the source C# package, and add to the BankServer class a new operation called getNumberOfAccounts which returns an int value.
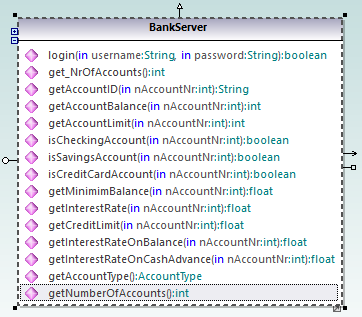
This change can be propagated manually to the target model, as follows:
1.Right-click the source "Bank Server" package, and select Update Model Transformation | From 'Bank Server' to 'Bank Server Java'.
2.Click Finish.
The operation getNumberOfAccounts added previously from the C# model has now been merged into the target Java model.
Finally, let's configure the transformation settings so that updates from C# to Java will take place automatically whenever you import the C# source code into the C# model, or merge changes from the model into the C# code.
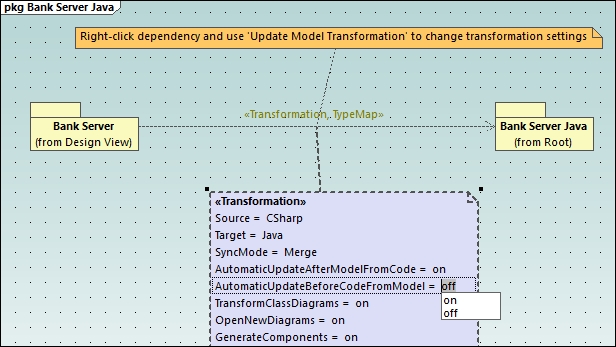
1.Open the "Model transformation from Bank Server to Bank Server Java" package diagram.
2.Double-click the tagged value AutomaticaUpdateAfterModelFromCode and set it to "on".
3.Repeat the previous step for the tagged value AutomaticUpdateBeforeCodeFromModel.
To trigger the automatic updates:
1.Go back to the BankServer class in the source C# model and delete the getNumberOfAccounts operation.
2.Right-click the Bank Server C# package and run either the Merge Program Code from UModel Package or Merge UModel Package from Program Code command.
Since automatic updates are now enabled, the change will have taken place automatically in the target BankServer Java class.