Example: Transform Java to C++
This example shows you how to perform a simple transformation from a Java model to a C++ model. It also shows you how to generate C++ code from the transformed (target) model.
1.Open the Bank_Java.ump example file available in the C:\Users\<username>\Documents\Altova\UModel2025\UModelExamples folder.
2.On the Project menu, click Model Transformation.
3.When prompted to supply a source package, select the namespace "bankview". The full path to this package in the Model Tree window is Root \ DesignView \ BankView \ com \ altova \ bankview.
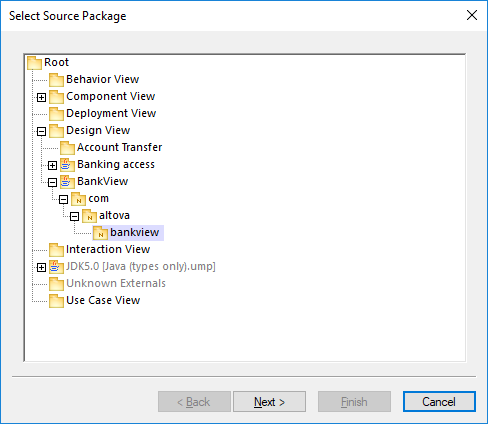
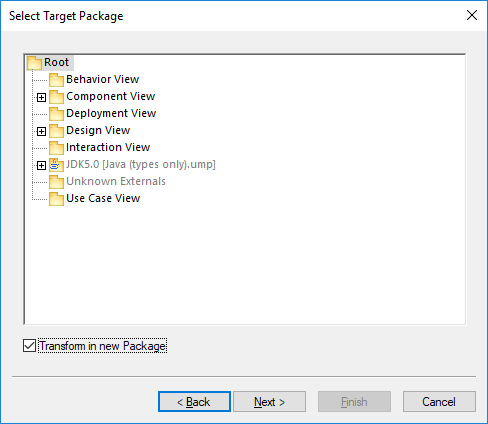
4.Click Next. When prompted to supply a target package, select the Transform in new Package check box.
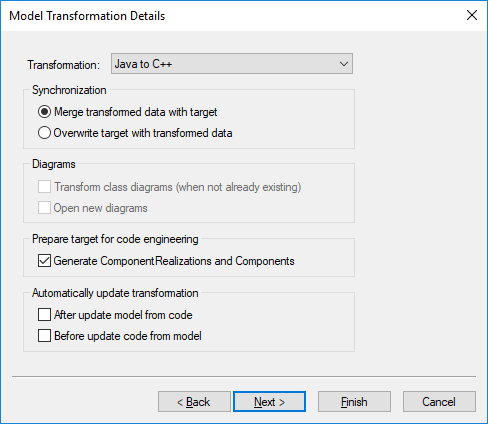
5.Click Next. On the dialog box which appears, select Java to C++ as transformation kind. For reference to all other settings, see Transformation Settings Reference.
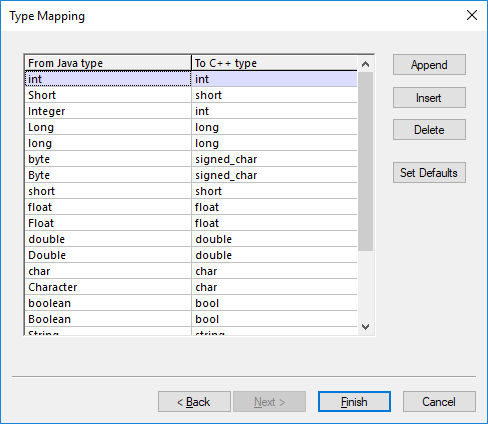
6.Click Next. The "Type Mapping" dialog box opens, where you can define the type mappings between Java and C#. Click Finish to use the default settings.
7.When prompted that the UModel Model Transformation Profile will be included, click OK.
The transformation completes, and the following changes take place in the project:
•A package diagram called "Model transformation from bankview to C++ target" is generated in the target model and opened automatically. This diagram illustrates the transformation that just took place and lets you modify (if required) the settings defined previously, see Transforming UML Models.
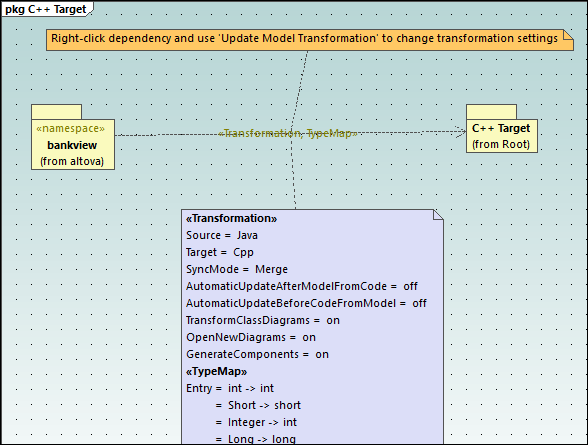
•The Model Tree window now includes a "C++ Target" package. This package includes all the elements transformed from the Java source model and tailored for C++. For example, if you open the "BankView Main" diagram, you will notice that it contains the bool type as opposed to the boolean type in Java.
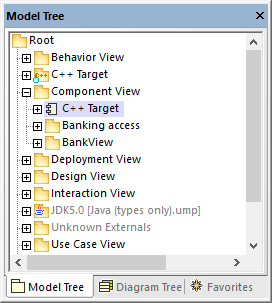
•The "Component View" package in the Model Tree window includes a new component, "C++ Target". This component was generated automatically because the setting Generate ComponentRealizations and Components was enabled. The new component defines the code engineering settings for the target model (in this case, C++).
You can now generate C++ code from the target model, as follows:
1.Click the "C++ Target" component in the "Component View" package.
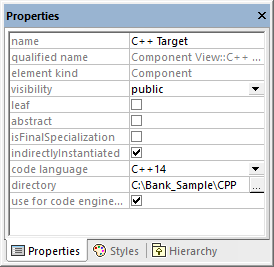
2.Find the directory property in the Properties window and enter the directory where C++ code should be generated (for example, C:\Bank_Sample\CPP, assuming that this directory exists).
3.Right-click the C++ Target package and select Code Engineering | Merge Program Code from UModel Package.
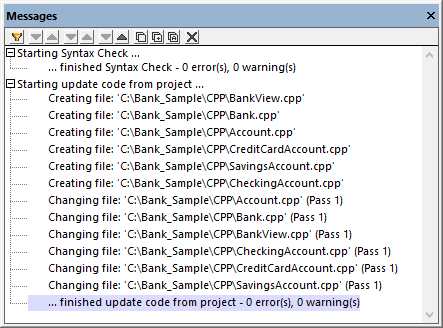
The Messages window displays the outcome of C++ code generation:
For more information about generating code from a UModel project, see Generating Program Code.