Object Diagrams
This tutorial section illustrates the following tasks:
•Combine class and object diagrams into one diagram
•Create objects/instances and define the relationships between them
•Format association/links
•Enter real-life data into objects/instances
To proceed, run UModel and open the BankView-start.ump project (see also Opening the Tutorial Project). The project includes a predefined object diagram "Sample Accounts", which will be used to illustrate the tasks above.
Combining objects and classes into one diagram
In the Model Tree window, navigate to the following path: Root | Design-phase | BankView | com | altova | bankview. Then double-click the icon next to the "Sample Accounts" diagram.
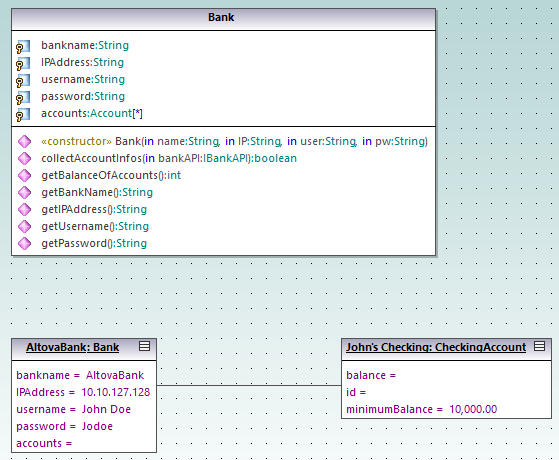
"Sample Accounts" diagram
This object diagram combines both classes and instances of them (objects). Specifically, AltovaBank:Bank is the object/instance of the Bank class, while John's checking: CheckingAccount is an instance of the class CheckingAccount class (not yet added to the diagram).
Let's now add the missing Account class to the diagram, by dragging it from the Model Tree into the diagram. Notice that the composite association between Bank and Account is displayed automatically (this association was defined in one of the previous tutorial sections, see Class Diagrams).
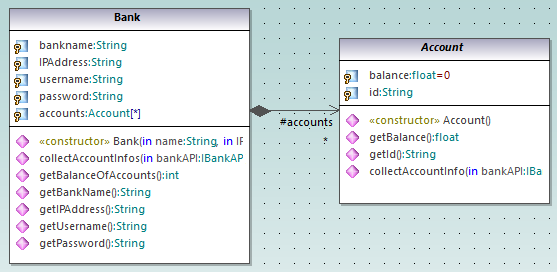
Adding a new object/instance (Approach 1)
Let's now add a new object to the diagram, called John's Credit. This object will instantiate the CreditCardAccount class.
1.Click the InstanceSpecification ![]() toolbar button, and then click inside the diagram, below the object John's Checking: Checking Account.
toolbar button, and then click inside the diagram, below the object John's Checking: Checking Account.
2.Change the name of the new instance to John's Credit, and press Enter.

3.Select the new instance to display its properties in the Properties window.
4.In the Properties window, next to "classifier", select CreditCardAccount from the drop-down list.
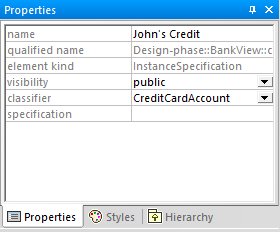
The instance has now changed appearance to display all properties of the class. Double-click any property to enter a value, for example:
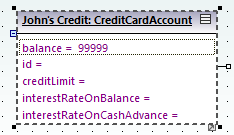
To show or hide specific nodes, right-click the instance and select Show/hide node content (Ctrl+Shift+H) from the context menu.
Adding a new object/instance (Approach 2)
We will now add a new instance of the class SavingsAccount, this time using a different approach:
1.In the Model Tree window, right-click the bankview package, and select New element | InstanceSpecification.
2.Rename the new instance to John's Saving, and press Enter to confirm. The new object is added to the package and sorted accordingly.
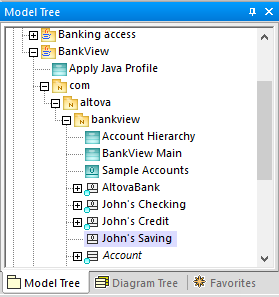
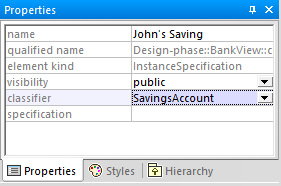
3.While the object is still selected in the Model Tree window, select SavingsAccount next to "classifier" in the Properties window.
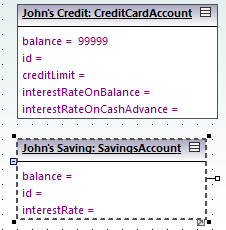
4.Drag the object John's Saving from the Model Tree window into the diagram, placing it below the object John's Credit.
Creating links between objects
Links are the instances of class associations, and describe the relationships between objects/instances at a fixed moment in time.
1.Click the existing link (association) between the object AltovaBank: Bank and the object John's Checking: CheckingAccount.
2.In the Properties window, next to "classifier", select the entry Account - Bank. The link now changes to a composite association, in accordance with the class definitions.

3.Click the InstanceSpecification  toolbar button, and position the cursor over the object John's Credit: CreditAccount. The cursor now appears as a + sign.
4.Drag from the object John's Credit: CreditAccount to AltovaBank: Bank to create a link between the two.
5.In the Properties window, next to "classifier", select the entry Account - Bank.
6.Finally, using the methods outlined above, create a link between the object AltovaBank: Bank and the object John's Saving: SavingsAccount.
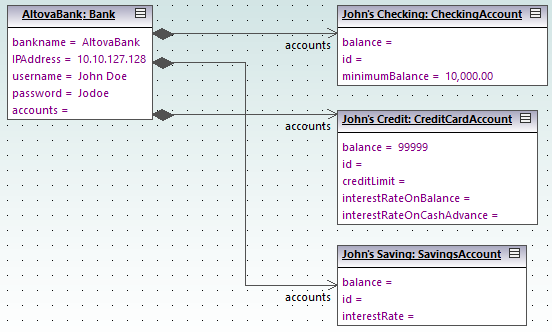
Note that changes made to the association type in any class diagram are automatically updated in the object diagram.
Formatting association/link lines in a diagram
To format links between objects, place the cursor on the line and drag to the desired position. To reposition the line both horizontally and vertically, drag the corner waypoint, as illustrated below.
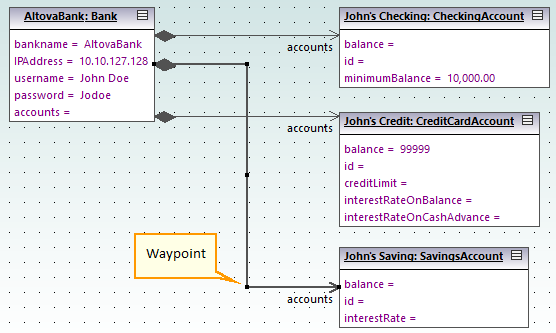
Links in an object diagram
Entering sample data into objects
The instance value of an attribute/property in an object is called a slot. To describe the state of an object, double-click the slots and enter sample instance data after the "=" character, for example:
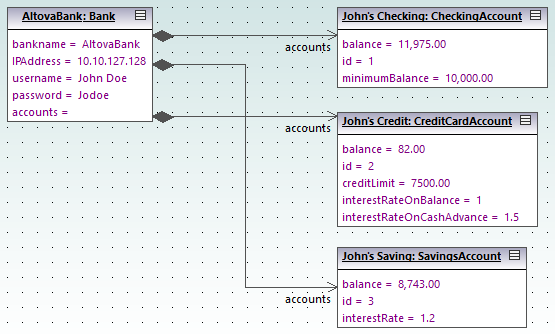
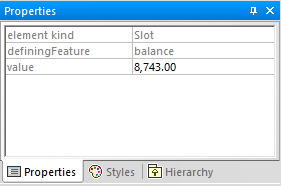
Object slots can also be filled from the Properties window, by selecting the object and entering the appropriate text next to "value", for example:
