Preview Mapping Result
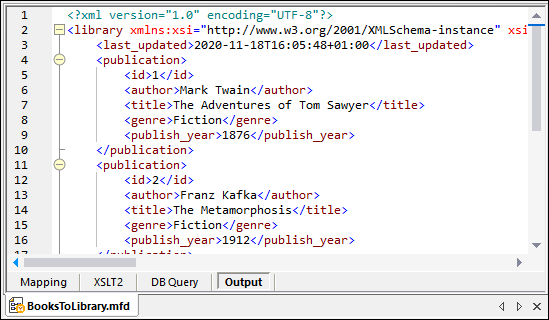
MapForce uses its built-in engines to generate the output and allows previewing the result of the mapping directly in the Output pane (see screenshot below).

By default, the files displayed in the Output pane are not saved to disk. Instead, MapForce creates temporary files. To save the output, open the Output pane and select the menu command Output | Save Output File or click  (Save generated output) in the toolbar.
To configure MapForce to write the output directly to final files instead of temporary ones, go to Tools | Options | General and select the check box Write directly to final output files. Note that enabling this option is not recommended while you follow this tutorial, because you may unintentionally overwrite the original tutorial files.
You can also preview the generated XSLT code that performs the transformation. To preview the code, click the XSLT2 button located at the bottom of the Mapping pane. To generate the XSLT2 code and save it to a file, select the menu item File | Generate Code in | XSLT 2.0. When prompted, select a folder where the generated code must be saved. After the code generation has been completed, the destination folder will include the following two files:
1.An XSLT transformation file, named after the target schema. This transformation file has the following format: MappingMapTo<TargetFileName>.xslt.
2.A DoTransform.bat file, which enables you to run the XSLT transformation with Altova RaptorXML Server from the command line. In order to run the command, you will need to install RaptorXML.