The HTTP protocol defines how files (text, images, etc.) are transmitted over the Internet. Every web server runs a daemon that continuously waits for HTTP requests and handles each as it arrives.
The HTTP protocol is stateless, which means that each HTTP command is carried out independently, without any reference to previous or following commands — and this can make testing and debugging a challenge.
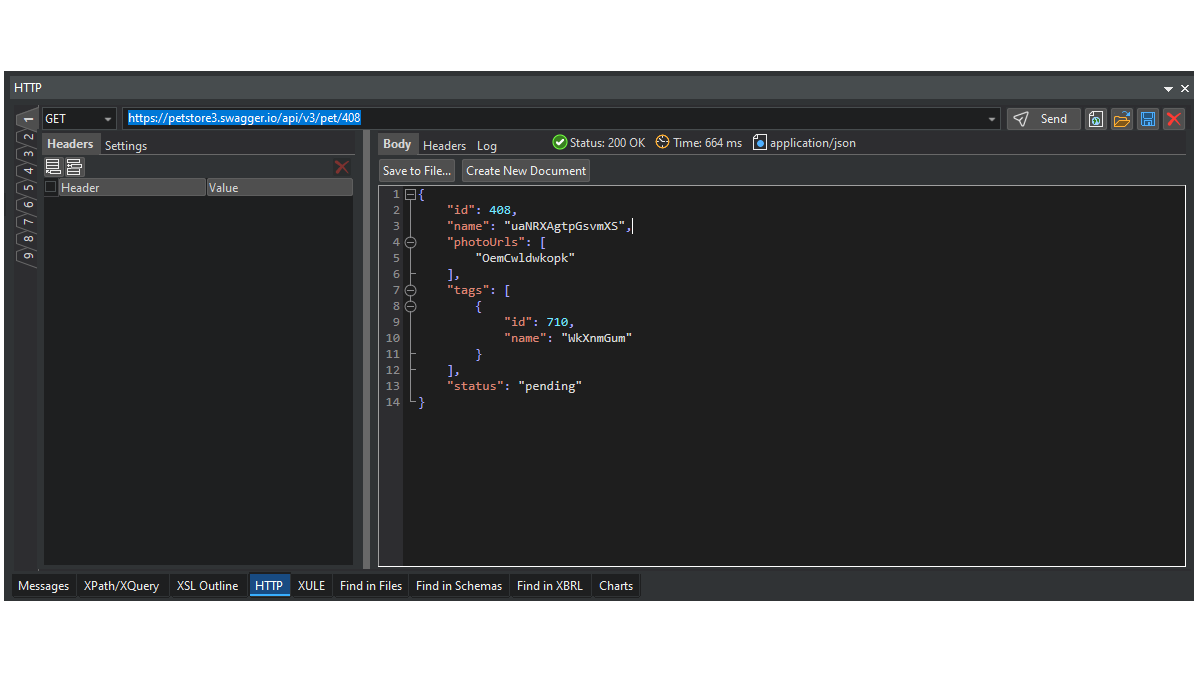
To assist developers with this, the HTTP testing window in XMLSpy guides you through the process of creating and sending an HTTP request to a web server or API. Then, you can receive, check, and troubleshoot the response.
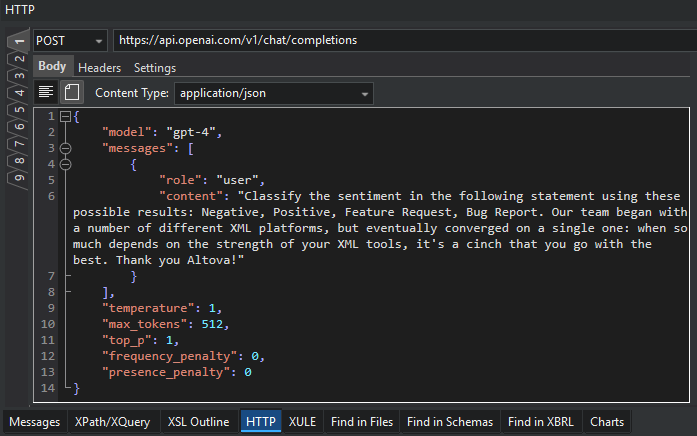
A request is defined in the left-hand pane of the window and may consist of:
- The HTTP method of the request (GET, PUT, POST, etc.) and the target URL
- HTTP headers of the request
- Connection settings, e.g., time outs and security options
- For POST and PUT methods, the HTTP message body
Once the request is defined, press Send to send it to the web server. You can analyze the response immediately in the right-hand pane, which displays the body and header info.
Nine separate tabs in the HTTP window allow you to store and test multiple messages and switch between them as needed.
XMLSpy also allows you to save your HTTP requests directly in the HTTP Tester. This is useful for reusing the same setup or for documentation purposes. You can also save the HTTP response to a file or copy it to a new document to work with it further, e.g., to automatically generate a JSON or XML Schema based on the structure of a response.


