Connecting to IBM DB2 for i (ODBC)
This example illustrates how to connect to an IBM DB2 for i database through ODBC.
Prerequisites:
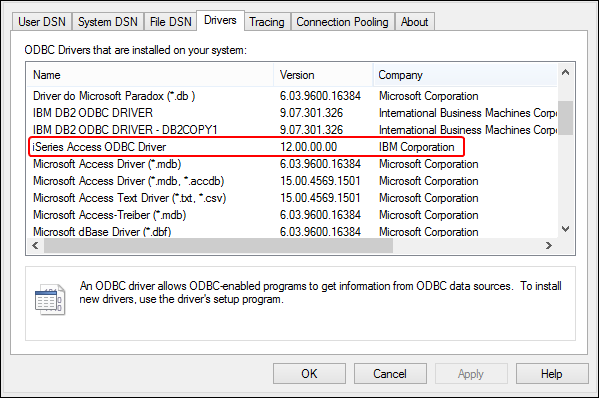
•IBM System i Access for Windows must be installed on your operating system (this example uses IBM System i Access for Windows V6R1M0). For installation instructions, check the documentation supplied with your IBM DB2 for i software. After installation, check if the ODBC driver is available on your machine (see Viewing the Available ODBC Drivers).
•You have the following database connection details: the I.P. address of the database server, database user name, and password.
•Run System i Navigator and follow the wizard to create a new connection. When prompted to specify a system, enter the I.P. address of the database server. After creating the connection, it is recommended to verify it (click on the connection, and select File > Diagnostics > Verify Connection). If you get connectivity errors, contact the database server administrator.
To connect to IBM DB2 for i:
1.Start the database connection wizard.
2.Click ODBC connections.
3.Click User DSN (alternatively, click System DSN, or File DSN, in which case the subsequent instructions will be similar).
4.Click Add  .
.
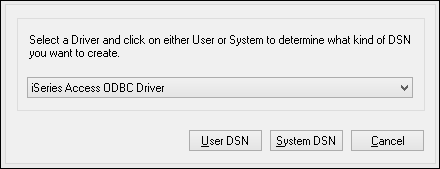
5.Select the iSeries Access ODBC Driver from the list, and click User DSN (or System DSN, if applicable).
6.Enter a data source name and select the connection from the System combo box. In this example, the data source name is iSeriesDSN and the System is 192.0.2.0.
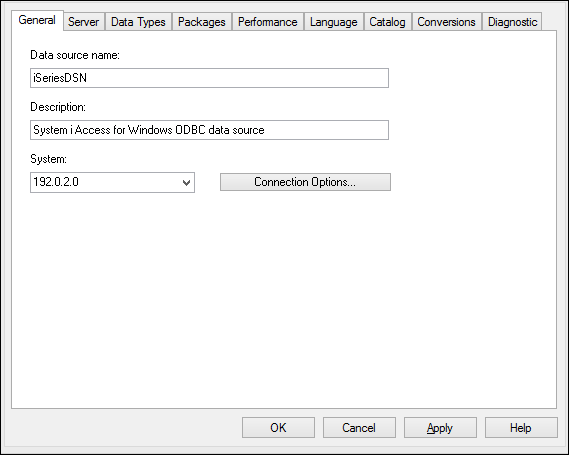
7.Click Connection Options, select Use the User ID specified below and enter the name of the database user (in this example, DBUSER).
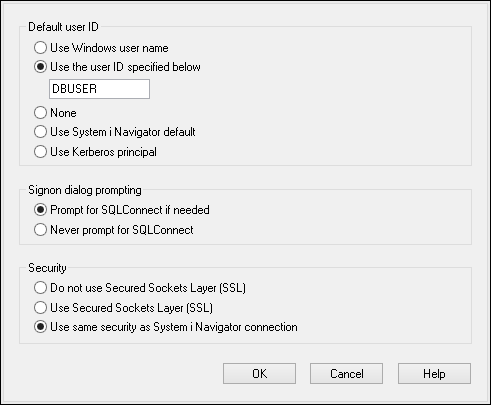
8.Click OK. The new data source becomes available in the list of DSNs.
9.Click Connect.
10.Enter the user name and password to the database when prompted, and then click OK.