Setting Up the Conditions
Setting up the condition consists of the following steps:
1.Create the condition with its first branch.
2.Create additional branches for alternative processing.
3.Create and edit the templates within the various branches of the condition.
Creating the condition with its first branch
Set up a condition as follows:
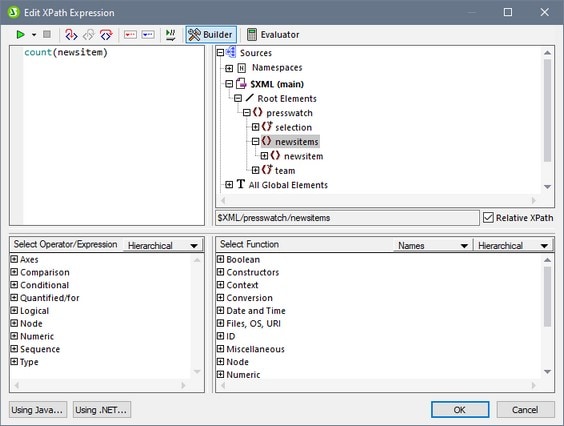
1.Place the cursor anywhere in the design or select a component and then select the menu command Insert | Condition.The Edit XPath Expression dialog pops up (screenshot below).
| 2. | In the Expression pane, enter the XPath expression for the condition branch via the keyboard. Alternatively, enter the expression by double-clicking nodes, operators, and/or functions in the panes of the dialog. It is important to be aware of the context node at the insertion point; the context node is highlighted in the schema sources tree when the dialog pops up. |
| 3. | Click OK to finish. The condition is created with its first branch; the XPath expression you entered is the XPath expression of the first branch. If the condition was inserted at a text insertion point, the first branch is empty (there is no template within it; see screenshot below). If the condition was inserted with a component selected, the condition is created around the component, and that component becomes the template of the first branch. |
![]()
To select the entire condition, click the cell with the question mark. To select the first branch, click the cell with the number one.
After creating a condition with one branch (which may or may not have a template within it), you can create as many additional branches as required.
Creating additional branches
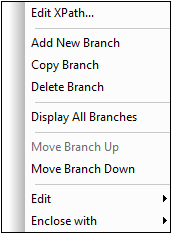
Additional branches are created one at a time. An additional branch is created via the context menu (screenshot below) and can be created in two ways: (i) without any template within it (Add New Branch); and (ii) with a copy of an existing template within the new branch (Copy Branch).

To create a new branch, right-click any branch of the condition and select Add New Branch from the context menu. The Edit XPath Expression dialog will pop up. After entering an XPath expression and clicking OK, a new empty branch is added to the condition. This is indicated in the design by a new cell being added to the condition; the new cell has a number incremented by one over the last branch prior to the addition.
To create a copy of an existing branch, right-click the branch of the condition you wish to copy and select Copy Branch. The Edit XPath Expression dialog will pop up, containing the XPath expression of the branch being copied. After modifying the XPath expression and clicking OK, a new branch is added to the condition. The new branch contains a copy of the template of the branch that was copied. The new branch is indicated in the design by a new cell with a number incremented by one over the last branch prior to the addition.
The Otherwise branch
The Otherwise branch is an alternative catch-all to specify a certain type of processing (template) in the event that none of the defined branches evaluate to true. Without the Otherwise branch, you would either have to create branches for all possible eventualities or be prepared for the possibility that the conditional template is exited without any branch being executed.
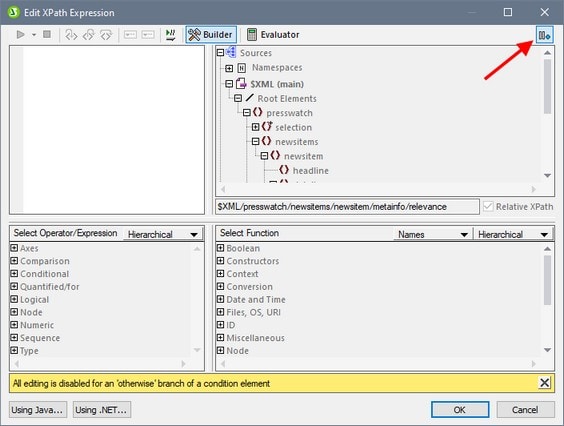
To insert an Otherwise branch, use either the Add New Branch or Copy Branch commands as described above, and in the Edit XPath Expression dialog click the Otherwise check box (see screenshot below).
Moving branches up and down
The order of the branches in the condition is important, because the first branch to evaluate to true is executed and the condition is then exited. To move branches up and down relative to each other, select the branch to be moved, then right-click and select Move Branch Up or Move Branch Down.
Deleting a branch
To delete a branch, select the branch to be deleted, then right-click and select Delete Branch.

