IIS: Configuring the Browser Service
Microsoft's Internet Information Services (IIS) 6 serves up only file types that are defined in the MIME types for that specific site (website or folder). Required filetypes, therefore, must be added to the list of MIME types for a given site.
For working with Authentic Browser, the following filetypes are required and must be added:
File extension | MIME type | Comment |
xsd | text/plain |
|
sps | text/plain |
|
pxf | application/x-zip-compressed |
|
Adding MIME types for a site in Internet Information Services
To add a MIME type to the list of MIME types for a particular site on a Windows XP machine, do the following. The process is similar on other supported systems (Windows 10, Windows 11).
1.Open Control Panel and double-click Administrative Tools.
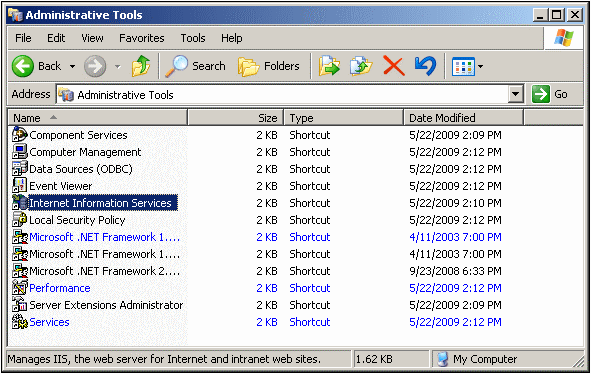
2.In the folder that pops up (screenshot below), double-click Internet Information Services.
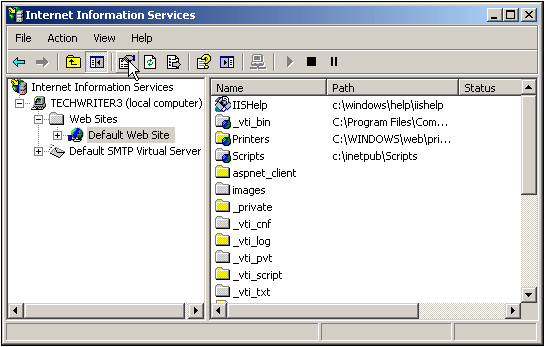
3.In the Internet Information Services (IIS) folder that appears (screenshot below), first select the required site (website or folder) in the folders pane (at left) and then click the Properties icon (under cursor in screenshot below) or the Properties command from the context menu (accessed by right-clicking).
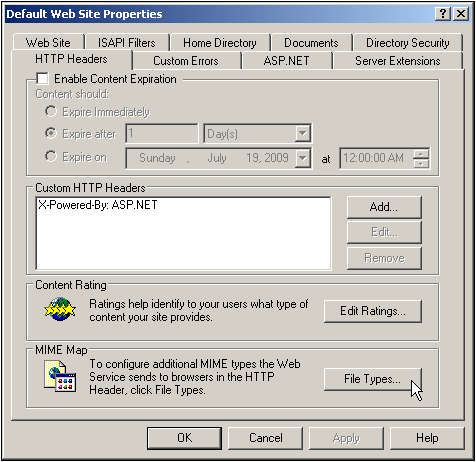
4.In the HTTP Headers tab of the Properties dialog, click the File Types button in the MIME Map pane (see screenshot below).
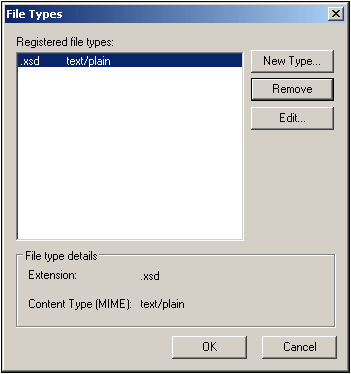
5.In the File Types dialog (screenshot below), click the New Type button.
6.In the dialog that pops up enter the required extension and its MIME type. See the table above for required filetypes and their corresponding MIME types.
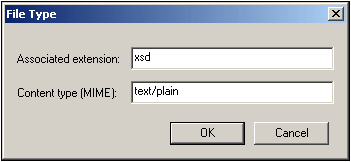
7.Confirm with OK.
For a description of how to set up remote access to a folder on an internal server via Web-DAV, see this Windows IT Pro article.