Data Mapping Binary Objects – Part 2
Binary objects – BLOBs -- can be cumbersome to manage in databases. In an earlier post we described a MapForce data mapping to insert binary objects into a database with generated metadata to identify the BLOBs later. The companion challenge in data mapping binary objects is to extract binary data and save it in a comprehensible form faithful to the original.
Let’s look at how that’s done.

The built-in MapForce function write-binary-file extracts BLOB values from a database and writes them to files. We’ll expand the example in the MapForce online Help to create a companion to the earlier post. Our revised mapping employs parameters supplied at runtime to extract one or more binary objects from the database.
The use case for the original post was a SQLite database to track various binary file assets supporting products for a marketing department. The binary data can be logo image files, PDFs for product data sheets, screenshots of the product in action, photographs, video files, etc. Our database table includes metadata for the product, asset type, and each original filename.
We start data mapping binary objects for extraction by dropping the database into a new mapping. This time, instead of selecting a table for the mapping, we’ll create a SQL SELECT query with parameters to filter results based on the metadata fields for the product and asset type. The SELECT statement will return one or more BLOBs and their original filenames.
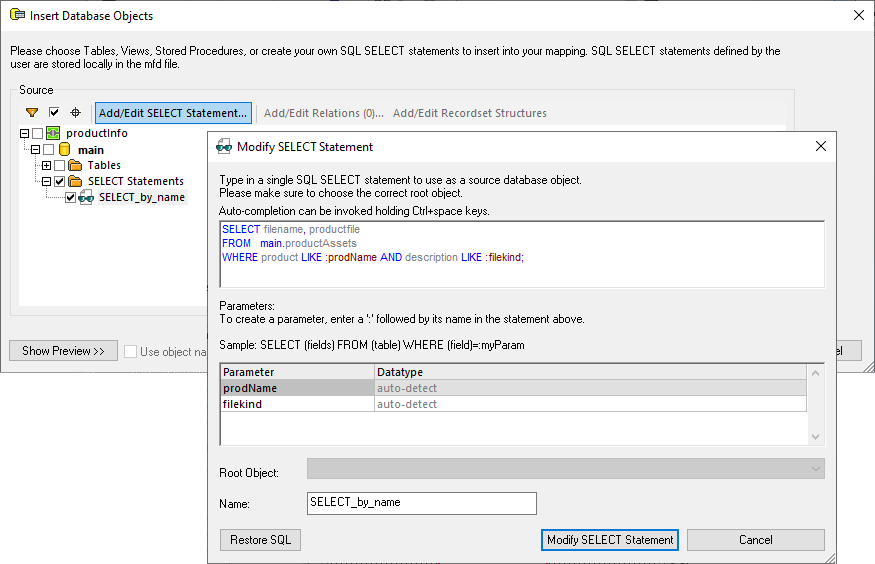
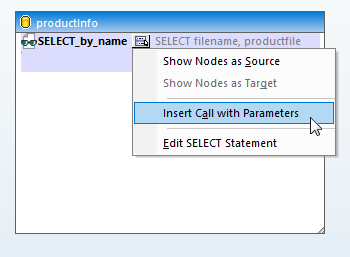
Next, we click the SELECT statement in the mapping pane to expose the parameters for mapping:
Now each individual parameter and output is available:

Using Insert Input from either the main Insert menu or toolbar icon, we can insert a special field for testing during design. Later, during automated execution, we can provide new parameter values to override the defaults.
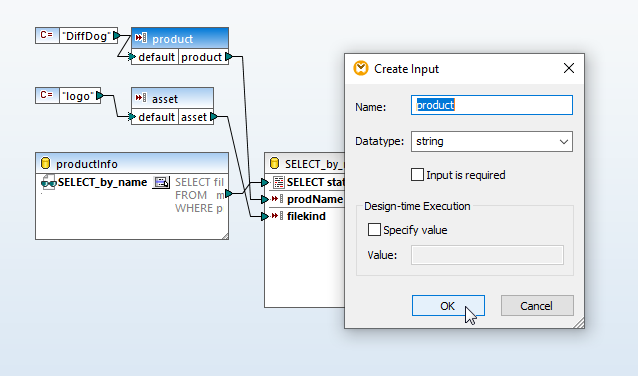
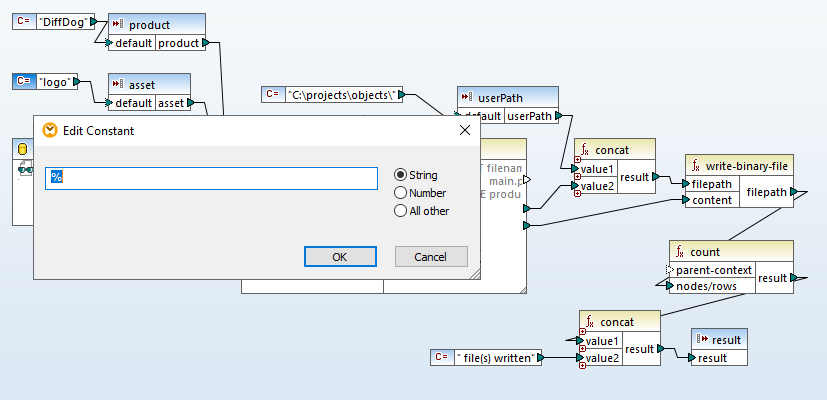
You may specify a design-time default in the Input definition dialog, but I like to supply the default as a string constant, as shown above. The default is visible without opening the dialog and it’s quicker to revise the value for testing.
We’ll follow the MapForce Help example for data mapping binary objects to create the mapping for the result of the SELECT query. Here is the completed mapping:
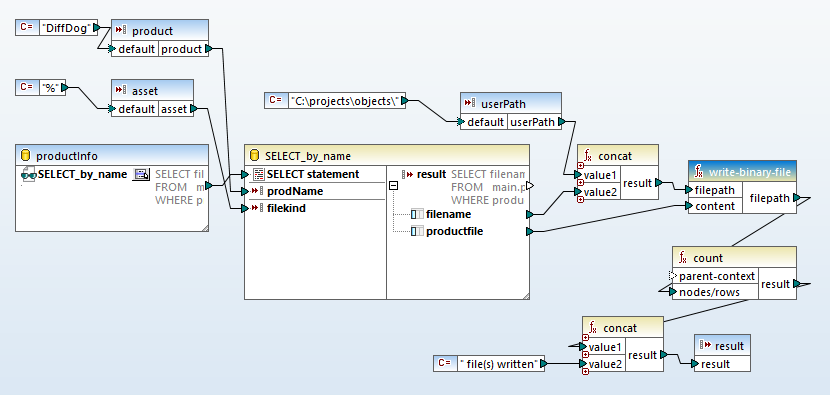
The write-binary-file function highlighted in the mapping saves the content of the binary object in the database to a file provided in the filepath input.
We refined the example mapping with two enhancements. The example used a fixed string value for the filename of the binary object, but we mapped the original filename from the database. Further, we provided another input object named userPath to concatenate a folder location and the filename.
At this point we’re ready to test the mapping by clicking the Output button at the bottom of the mapping design pane. MapForce executes the query with the parameters defined in the mapping and the Output window opens:

The first output is simply the message we attached to the write-binary-file function. Clicking the right arrow icon opens the second output. The image below is the display after we click the Open With . . . button to assign Windows Photo Viewer as the app for the .png result.
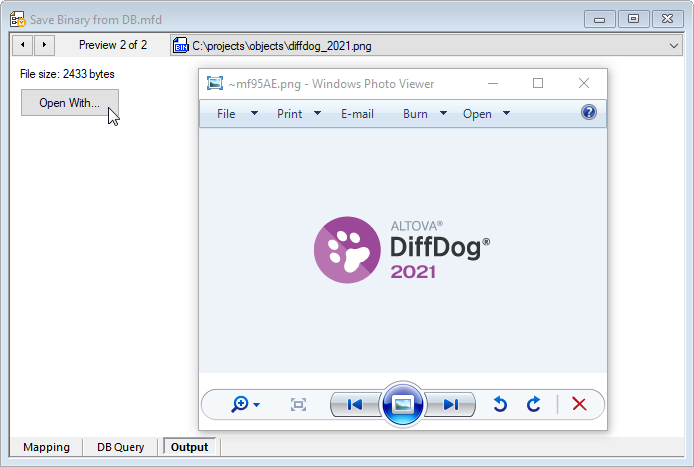
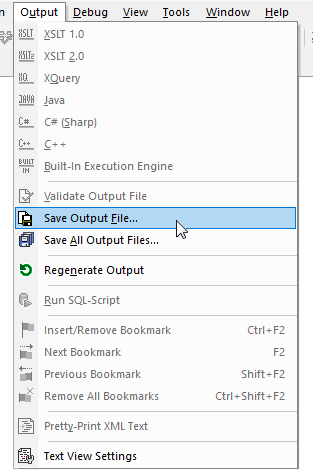
The filepath “C:\projects\objects” was the provided input and “diffdog_2021.png” was the filename stored in the database. The filename shown in the photo window, “~mf95AE.png,” is only a random name for the output preview. The Output menu includes a selection to permanently save the file:
We can edit the parameters and try another test. This time, we’ll use the SQLite wildcard character for the asset parameter to match anything in the database:
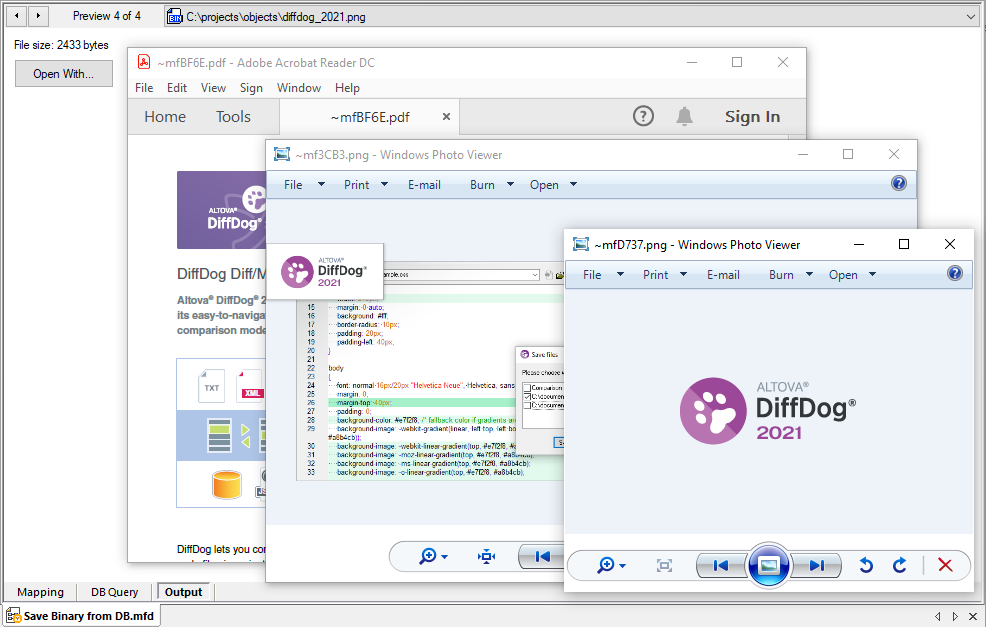
When we click the Output button this time, multiple binary objects are retrieved:

Clicking through all the binary file results, we see one datasheet as a PDF file, one screenshot as a .png image, and one logo also as a .png file:
Automate Data Mapping Binary Objects
To extend our use case requirements, assume we need to allow any team member to retrieve product assets from the database on demand. MapForce Server performs automated data transformations based on optimized data mappings designed in MapForce.
One copy of MapForce Server can be installed on a network server and made accessible to multiple users. Then all we need to do is save the data mapping as a MapForce Server execution file (.mfx) from the MapForce Output menu. We’ll use the file name extract-product-assets-from-DB.mfx.

The data mapping can then be executed from a command line by any authenticated user. The parameters for the Input components named product, asset, and userPath in the mapping are assigned at runtime by the command. We can even create a sample command line in a batch file that users can edit and run as needed:
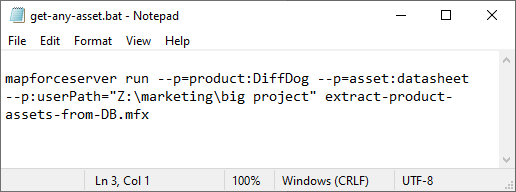
It would be a simple task to add comments with editing instructions to list the possible values for each parameter.
For even more automated production, MapForce mappings can be deployed to FlowForce Server and executed based on a variety of triggers. To get started with your own data mapping, conversion, and transformation project, download a free trial including Tutorials, Help, and many more examples!