Part 5 – Analyzing a Legacy Application with Altova UModel
Previously in Part 1, Part 2, Part 3, and Part 4 of this series we applied Altova UModel reverse-engineering functionality to create UML diagrams for an ATM banking simulation application. After analyzing the existing architecture, we planned and implemented a new feature, the withdrawal fee. Even in a reduced size, our updated sequence diagram for the withdrawal transaction clearly represents in graphical form the nested logic structure of the source code. 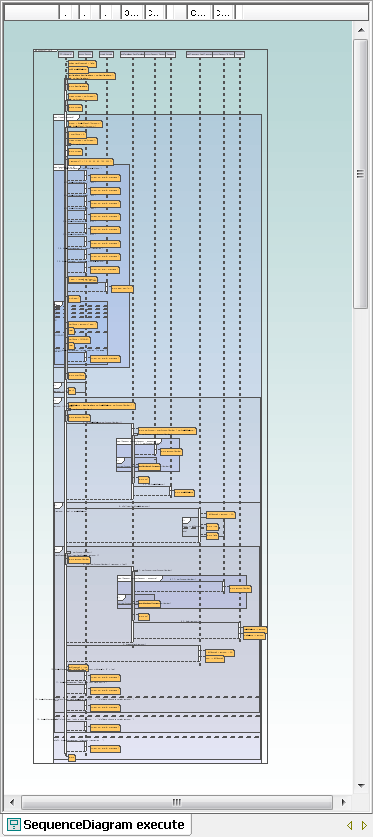 This morning we happened to run into the ATM product manager at the coffee machine. “You’ve been working on that ATM code for over a month now,” he said. “When am I going to see what you’ve accomplished?” We can take advantage of the UModel Generate Documentation feature to satisfy this request. UModel will automatically create customized documentation for our project in HTML, Microsoft Word, or RTF formats. The Include tab in the Generate Documentation dialog box lets us choose which diagram types to include, and to specify the level of detail for our report by allowing us to expand each diagram element type.
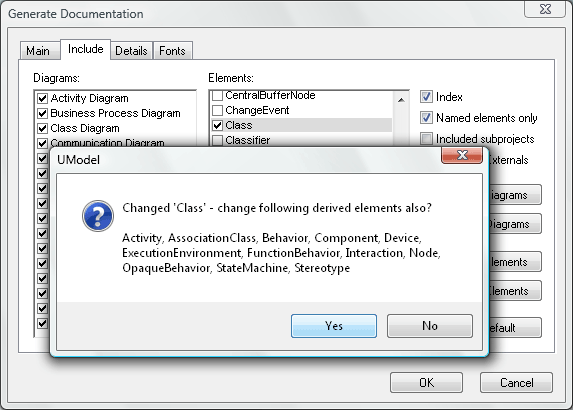
 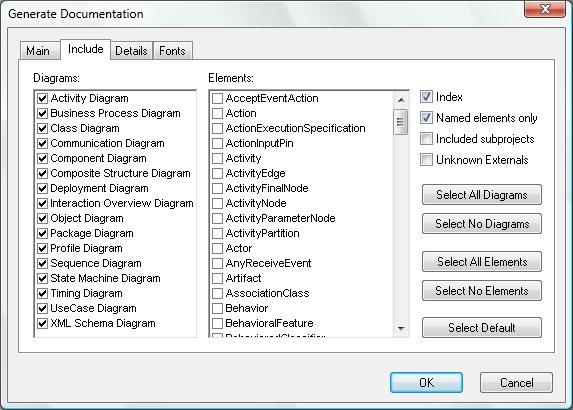 For an overview report, we can select all diagram types. We’ll also select class from the Elements list to show further information about the classes in our application. UModel helpfully asks if we want to add elements derived from class as well.
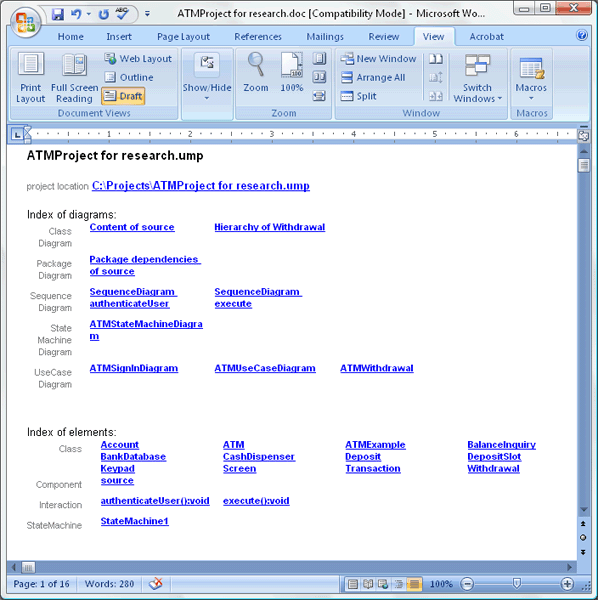
  After we have selected or adjusted other document parameters, including fonts and sizes, UModel generates the report in just a few seconds. At the top of the first page, the report begins with an index of diagrams and a separate index of elements. Each indexed item is hyperlinked to a bookmark in the document.
  Regardless which format you choose, the resulting report is fully editable. For instance, we can add a footer that includes page numbers and a tag line recording the document creation date. We can grab the tag line UModel created to create our footer.
 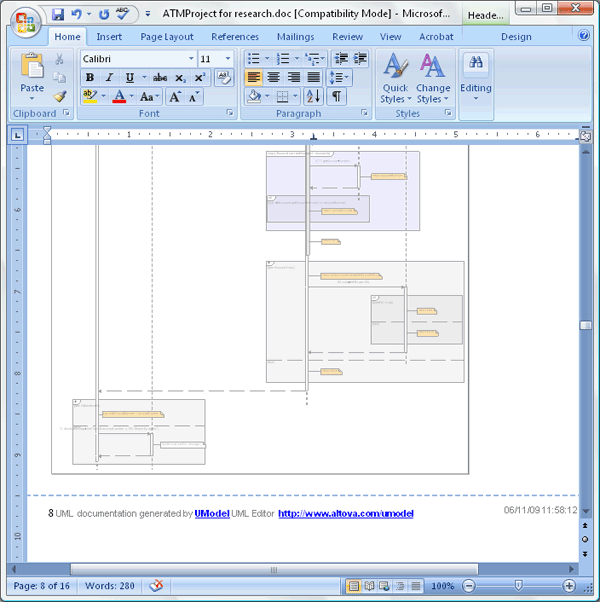 Our completed report contains all the UML diagrams that describe the legacy ATM application, with detailed class diagrams that show the class properties and operations. Additionally, the illustration of each class is accompanied by a hierarchy diagram to show the class relationships, and a list of all the class associations. Later on as our project evolves further, we can easily generate an updated version of the report. We could even take advantage of the UModel command line functionality or the UModel API to automate creation of project documentation, or we could attach the .html version of the report to our developer team wiki. But for now all we have to do is email the report to the ATM product manager. Conclusion We hope you’ve enjoyed following along with this exercise in Analyzing a Legacy Application with Altova UModel. Although we are ending the series here, in the real world there is much more work to do on our ATM application. For instance, the feature to permit users to accept the fee or cancel a withdrawal remains to be implemented. Or, we could update the legacy code with newer Java language constructs such as generics, annotations, and enumerations. If you’re already experienced with UML we hope we’ve shown you a new trick or two. If you are a developer who’s never tried UML, we wanted to give you some of the flavor and benefits of visual software modeling. Either way, if you’re ready to go further on your own project, click here to download a fully-functional free trial of Altova UModel.
