Using Altova Tools to Work with XML Data in the SQL Azure Cloud
In an earlier post we discussed connecting to Microsoft SQL Azure databases with Altova DatabaseSpy and demonstrated database schema comparison and content comparison between a local database and the same database migrated to SQL Azure. In this post we will use a different method to migrate an existing table to SQL Azure and show you some tricks you can do with XML in the cloud. We started by creating a new database schema in SQL Azure. Then we created a DatabaseSpy project with a connection to a local copy of SQL Server Express running the AdventureWorks sample database, and a second connection to our new SQL Azure schema. 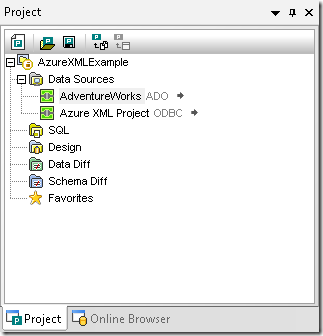 The AdventureWorks database contains a table called JobCandidate with some XML data we will use for a model for our SQL Azure XML contents.
 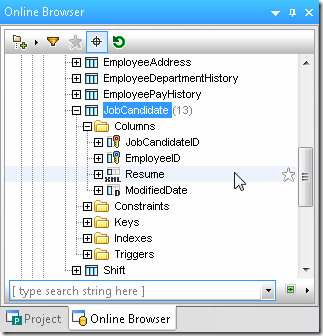 We can generate a CREATE statement for the existing table to use as a basis for the SQL Azure version.
 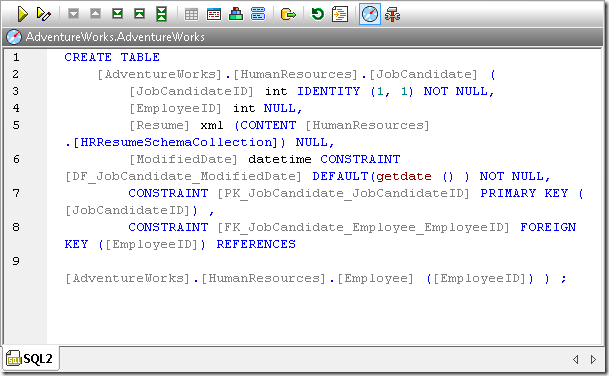 We need to modify this statement to execute in our SQL Azure database. In addition to changing the database and schema names, we will remove the foreign key constraint to the Employee table, since our new database doesn’t contain a table with that name. Also, SQL Azure does not support the CONTENT keyword, so we will remove that as well.
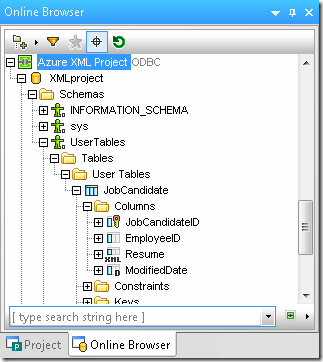
 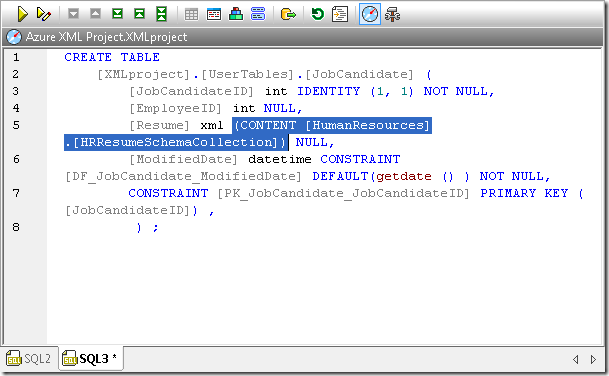 After making sure the Properties window for the revised CREATE statement points to the SQL Azure database, we can execute the statement. When we refresh the database and expand our view in the Online Browser helper window, we can see the new empty table.
  A data comparison between the existing table and the new one will allow us to create a script to migrate data into our new table in the SQL Azure cloud. This is similar to the data comparison we wrote about in our previous post on SQL Azure, except instead of merging data directly, we will save the merge script.
 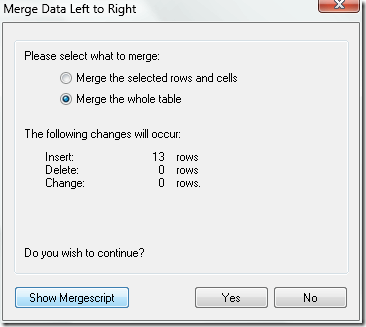 Our first attempt to run the merger script failed, throwing an error message that SQL Azure cannot insert values into the new table when IDENTITY_INSERT is set to OFF. We can add a line to the merge script to SET INDENTITY_INSERT ON and re-execute:
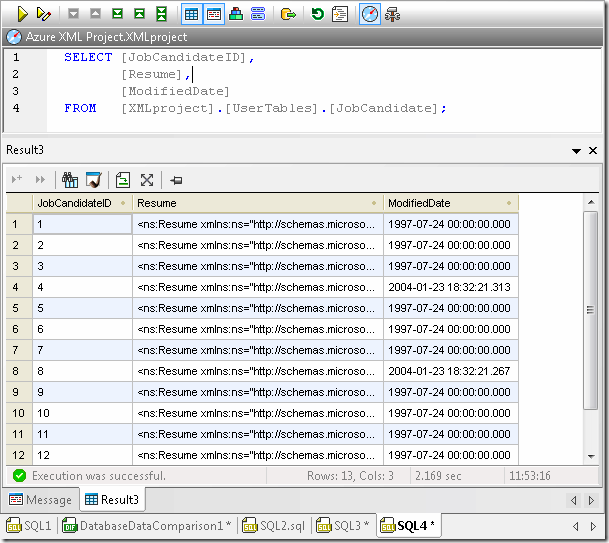
  Next, we can run a SELECT query to view the data that was successfully uploaded.
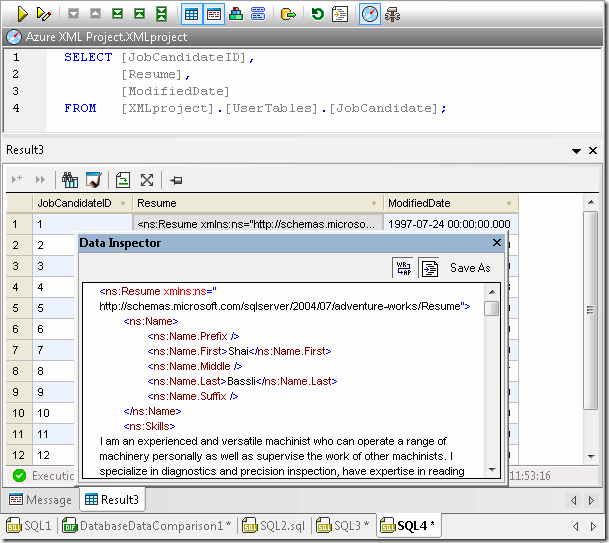
  The DatabaseSpy Data Inspector window lets us more easily examine the contents of a wide column, and is ideal to use for XML documents stored in the Resume column of the new JobCandidate table.
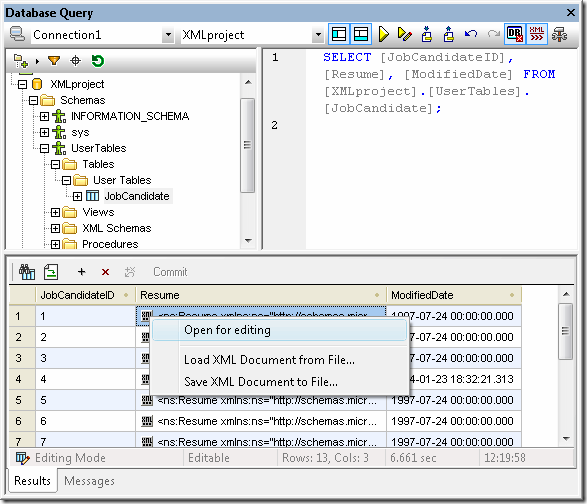
  Editing XML Data with XMLSpy If you need to revise, edit, update, or validate XML data in a SQL Azure database, Altova XMLSpy provides more robust XML editing features than DatabaseSpy. We can connect to our SQL Azure database from XMLSpy and run a SELECT query from the XMLSpy Database Query window. XMLSpy lets us open any XML row for direct editing, with access to advanced XML editing functionality.
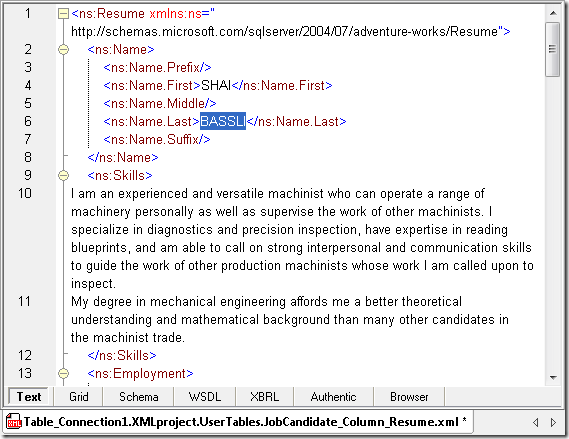
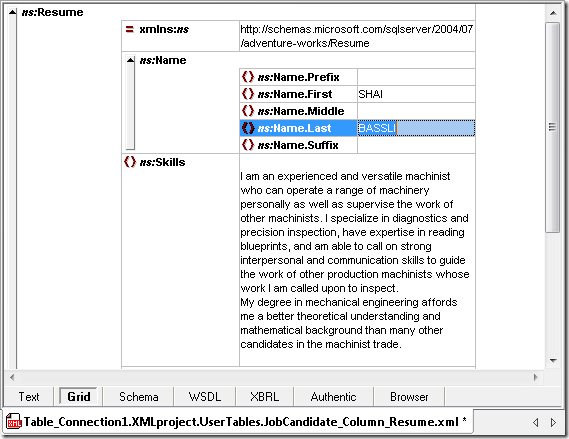
  Of course all the familiar features of the XMLSpy text view and grid view are available.
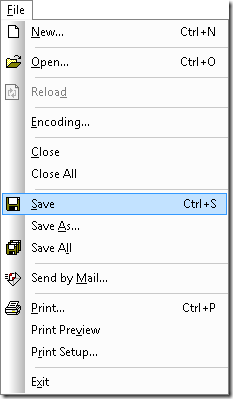
 After your edits are complete, the XMLSpy File / Save menu option saves the revised XML document to the same row of the JobCandidate table in the SQL Azure database in the cloud.
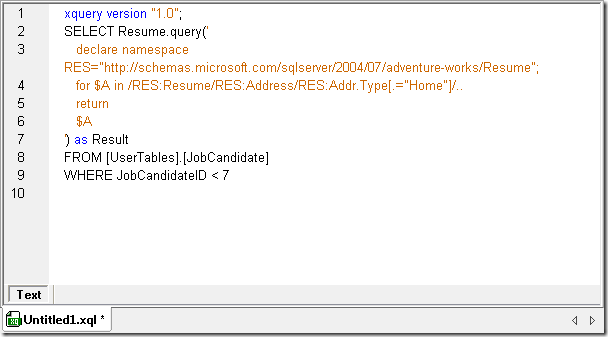
  Parsing XML Data with XQuery You can also apply the XMLSpy XQuery editor, with its built-in knowledge of XQuery syntax and context-sensitive entry helpers to build XQuery statements that parse the XML data in your SQL Azure database. The XQuery statement below extracts and returns the home addresses from the XML resumes where JobCandidateID is less than 7.
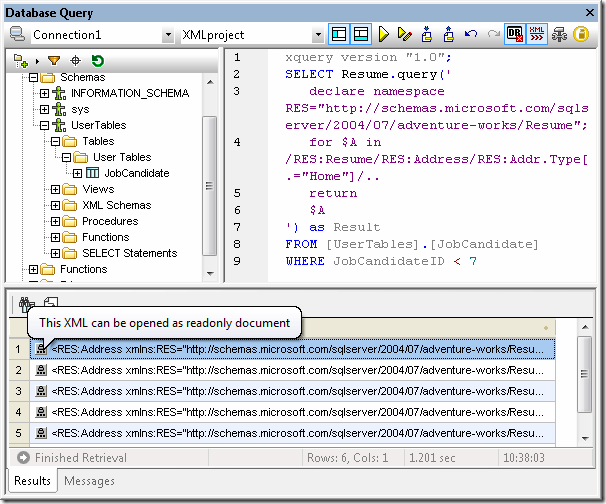
  The XQuery statement can be executed in the Database Query window, with results immediately available to work with in XMLSpy.
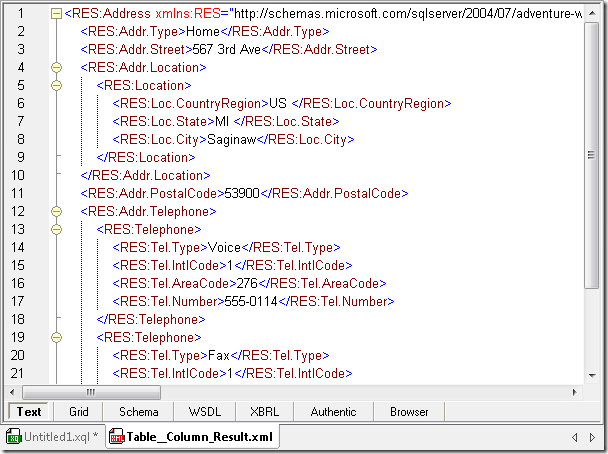
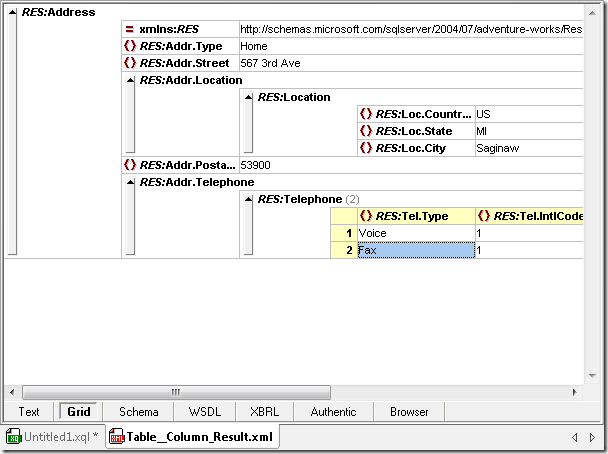
  Of course the XQuery result can also be edited in Text view or in Grid view.
 And you can save the query result either from the Database Query window or from the XML Editor view. Find out for yourself how productive you can be by using Altova tools to work with XML data in the SQL Azure cloud ̶ download a free 30-day trial of the Altova MissionKit for Software Architects, an integrated suite that includes XMLSpy, DatabaseSpy, and additional XML, database, and UML tools.
